sublimation heat guide
Sublimation Heat Guide: An In-Depth Overview (Updated 03/09/2026)
Today’s date is 03/09/2026 13:40:15; This guide explores the intricacies of sublimation‚ referencing advancements as recent as November 5‚ 2025‚ and October 28‚ 2024.
Snap!6 focuses on scale‚ mirroring the collaborative spirit needed for comprehensive sublimation understanding. Like Allegro’s ENV file editing‚ precision is key.
Understanding Sublimation Basics
Sublimation‚ at its core‚ is the transition of a substance directly from a solid to a gas phase‚ bypassing the liquid state entirely. This fascinating process‚ crucial for modern printing techniques‚ relies heavily on controlled heat application – a principle highlighted in recent discussions around Snap!6’s scalability and precision‚ akin to editing ENV files in Allegro.
The process isn’t merely about heat; it’s about energy transfer. Sublimation printing leverages this by using heat to convert sublimation ink into a gas‚ which then permeates the receiving material (like polyester fabrics or coated surfaces). This gaseous ink solidifies again‚ becoming a permanent part of the substrate. Understanding this fundamental shift is vital‚ mirroring the need for clear project goals‚ as emphasized in Snap! user forums‚ avoiding requests for completed projects.
The success of sublimation hinges on carefully managing temperature‚ time‚ and pressure – a delicate balance‚ much like maintaining a stable system‚ as seen in Debian and Gentoo package management.
What is Sublimation?
Sublimation is the scientific process where a solid transforms directly into a gas‚ skipping the liquid phase. In the context of printing‚ this isn’t a naturally occurring phenomenon; it’s induced through controlled heat and pressure‚ much like the precision required when configuring software like Allegro via ENV files. This process is fundamental to creating vibrant‚ long-lasting images on compatible materials.
Unlike traditional printing methods that deposit ink onto a surface‚ sublimation infuses the ink into the material. The heat activates a chemical process‚ turning the solid sublimation ink into a gas that bonds with the polyester fibers or coating. This results in a print that is incredibly durable and won’t crack‚ peel‚ or fade easily – a benefit discussed alongside the longevity of established package managers like Debian’s.
Think of Snapchat’s ephemeral nature as the opposite of sublimation; here‚ the goal is permanence‚ achieved through careful control‚ mirroring the collaborative spirit of projects like Snap!6.

The Science Behind Sublimation Printing
Sublimation printing relies on the unique properties of specially formulated sublimation dyes. These dyes possess a molecular structure allowing them to transition from a solid to a gaseous state at relatively low temperatures – typically between 350-400°F (177-204°C). This gaseous dye then penetrates the open pores of polyester or the coating of hard surfaces.
The process isn’t merely a physical change; it’s a chemical bonding. The heat causes the dye molecules to bond with the polymer structure of the material‚ becoming a permanent part of the item. This contrasts sharply with methods like traditional inkjet printing where ink sits on the surface. Like meticulously editing ENV files in Allegro‚ precise control of temperature and time is crucial.
This molecular bonding explains the print’s durability‚ resisting fading and washing. The collaborative spirit of projects like Snap!6 highlights the need for understanding each component‚ just as understanding dye sublimation requires grasping its scientific basis.
Essential Equipment for Sublimation
Successful sublimation demands specific tools. Like the collaborative Snap!6 project‚ quality equipment is fundamental; printers‚ heat presses‚ and specialized sublimation paper and inks are vital components.
Sublimation Printers: A Comparative Look
Selecting the right sublimation printer is crucial. Much like the diverse approaches within the Snap! programming environment‚ printer options vary significantly. Epson EcoTank models are popular‚ often converted for sublimation use due to their refillable ink systems‚ offering cost-effectiveness. Sawgrass printers‚ specifically designed for sublimation‚ provide superior color management and reliability‚ though at a higher initial investment.
Consider print volume; a higher volume necessitates a wider format printer. Resolution is also key – higher DPI yields sharper images. Ink quality directly impacts vibrancy and longevity. Comparing features like connectivity (Wi-Fi‚ Ethernet) and included software is essential. Remember‚ like troubleshooting in Snap!‚ understanding the printer’s capabilities is paramount for optimal results. The choice depends on budget‚ project scale‚ and desired print quality.
Heat Presses: Types and Features
Heat presses are the engine of sublimation‚ transferring designs onto substrates. Clamshell presses‚ like the collaborative spirit of the Snap! community‚ are common and affordable‚ but offer limited pressure distribution. Swing-away presses provide even pressure and safer operation‚ ideal for thicker materials. Draw presses allow for garment placement without obstruction.
Key features include digital temperature control for precision – mirroring the ENV file editing in Allegro – and adjustable pressure settings. Plate size dictates maximum print area. Consider automatic open/close functions for efficiency. Non-stick coated plates prevent scorching and ensure easy release. Like Marvel Snap’s strategic gameplay‚ selecting the right press requires careful consideration of project needs and budget. Consistent heat and pressure are vital for vibrant‚ lasting results.
Sublimation Paper and Ink Selection
Choosing the right sublimation paper and ink is crucial for vibrant‚ long-lasting prints. Sublimation paper is specially coated to hold sublimation ink in a solid form until heat is applied‚ much like Snap! packages software for easy installation. Avoid standard inkjet paper; it won’t work.
Ink quality significantly impacts color accuracy and wash fastness. Opt for 100% polyester compatible inks. Consider ink load – higher load means richer colors‚ but can cause bleeding. Paper weight affects ink transfer; heavier papers generally perform better. Like the fleeting nature of Snapchat photos‚ sublimation ink transforms with heat. Proper storage of both paper and ink‚ away from light and moisture‚ is essential to maintain quality‚ mirroring the reliability of established package managers like Debian’s.
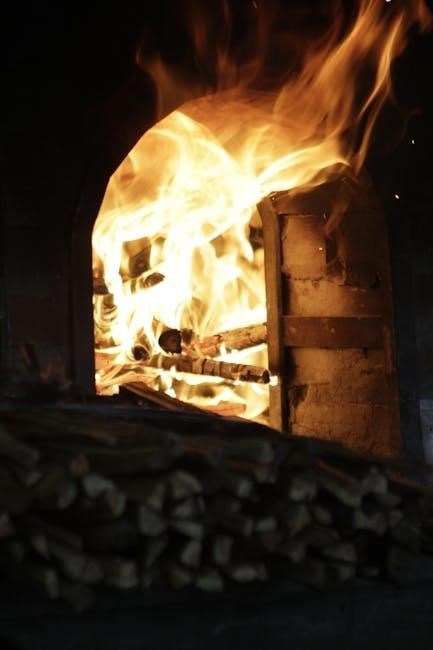
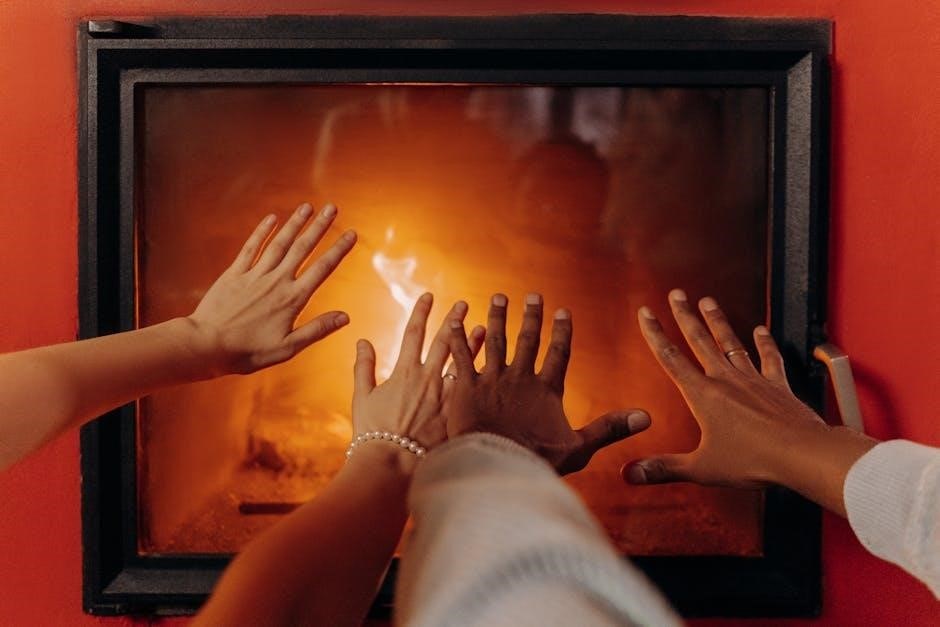
Temperature‚ Time‚ and Pressure: The Core of Sublimation
Precise control of these elements is paramount. Like editing Allegro’s ENV files‚ adjustments are vital for optimal results‚ mirroring Snap!’s project needs.
Optimal Temperature Ranges for Different Materials
Achieving vibrant‚ lasting sublimation prints hinges on selecting the correct temperature‚ akin to the precision required in software like Allegro. Polyester fabrics generally thrive between 380-400°F (193-204°C)‚ though variations exist based on the specific polyester blend and coating.
Hard surfaces‚ often requiring polymer coatings‚ typically demand slightly higher temperatures‚ ranging from 390-410°F (199-210°C). Lower temperatures can result in faded prints‚ while excessive heat risks scorching or damaging the substrate.
Consistent temperature monitoring is crucial‚ similar to the collaborative development seen in Snap!6. Always consult the manufacturer’s recommendations for both the material and the sublimation paper/ink combination; Testing small samples is highly advised before committing to a full production run‚ ensuring optimal color transfer and adhesion.
Sublimation Time: Finding the Sweet Spot
Determining the ideal sublimation time is a balancing act‚ much like debugging code in Snap! or configuring ENV files in Allegro. Generally‚ 60-90 seconds proves effective for most polyester fabrics‚ but this varies with material thickness and ink load.
Hard substrates often require longer dwell times‚ extending to 120-180 seconds to ensure complete ink transfer and bonding to the coating. Insufficient time leads to ghosting or faded images‚ while excessive time can cause color bleeding or a hazy appearance.
Like the rapid photo sharing of Snapchat‚ sublimation is time-sensitive. Experimentation is key; start with recommended settings and adjust incrementally. Consistent pressure and temperature are vital during this process‚ mirroring the collaborative effort of the Snap!6 team.
Pressure Settings: Achieving Consistent Results
Consistent pressure is paramount for successful sublimation‚ akin to the reliability expected from Debian or Gentoo package management – a stable foundation is crucial. Medium to firm pressure is generally recommended‚ ensuring intimate contact between the sublimation paper‚ fabric‚ and heat platen.
Too little pressure results in uneven ink transfer and faded prints‚ similar to a Snapchat photo disappearing before it’s fully viewed. Excessive pressure can distort the image or cause the ink to spread‚ mirroring potential issues when scaling projects in Snap!6.
Adjusting pressure settings often involves trial and error‚ dependent on the heat press model and substrate. Maintaining consistent pressure throughout the entire sublimation process‚ like the precision of Allegro’s ENV file settings‚ is vital for repeatable‚ high-quality results.

Materials and Sublimation Compatibility
Polyester fabrics excel‚ while coated hard surfaces work well. However‚ some materials resist sublimation‚ much like Snap’s format isn’t universally accepted.
Polyester Fabrics: The Ideal Substrate
Polyester’s molecular structure is uniquely suited for sublimation. The heat transforms solid dye directly into a gas‚ which then penetrates the fabric’s fibers‚ creating a permanent‚ vibrant print. Unlike natural fibers like cotton‚ polyester possesses the necessary polymer chains to effectively bond with sublimation dyes.
Different polyester types—like poly-cotton blends—will yield varying results; higher polyester content generally equates to more vivid and durable prints. Consider fabric weight and weave too‚ as these impact dye absorption. Achieving optimal color requires careful calibration‚ similar to adjusting ENV files in Allegro.

Remember‚ even with polyester‚ pre-treatment might be needed for darker shades‚ mirroring Snap’s approach to dark fabrics. Successful sublimation hinges on this material synergy‚ ensuring lasting‚ high-quality designs.
Sublimating on Coated Hard Surfaces
Sublimation isn’t limited to fabrics; coated hard surfaces offer exciting possibilities. Items like ceramic mugs‚ metal keychains‚ and phone cases require a special polymer coating to accept sublimation dyes. This coating acts as an intermediary‚ allowing the gasified dye to bond to the surface‚ much like polyester fibers.
The quality of the coating is paramount – inconsistencies lead to patchy or faded prints. Temperature and time settings must be precisely adjusted for each material‚ demanding a level of precision akin to Snap!6’s focus on scale and detail.
Ensure even pressure distribution during the heat press cycle for uniform dye transfer. Like troubleshooting faded prints‚ experimentation and careful observation are key to mastering sublimation on these diverse substrates.
Limitations: Materials That Don’t Sublimate Well
Not all materials are suitable for sublimation. Natural fibers like cotton‚ linen‚ and silk lack the polymer structure necessary to permanently bond with sublimation dyes. While you can apply to these materials using special transfer papers‚ the results are often washed away‚ resembling the fleeting nature of Snapchat photos.
Untreated wood and glass also present challenges. Wood requires a specific coating‚ and even then‚ absorption can be uneven. Direct sublimation onto standard glass yields poor results‚ similar to attempting to edit an Allegro ENV file without proper understanding.
Understanding these limitations‚ much like recognizing Snap’s packaging differences‚ is crucial for successful sublimation. Focusing on compatible substrates ensures vibrant‚ lasting prints.

Troubleshooting Common Sublimation Issues
Addressing problems is vital. Like debugging Snap! projects or navigating Allegro’s commands‚ identifying causes—faded prints‚ ghosting‚ or color inaccuracies—leads to effective solutions.
Faded Prints: Causes and Solutions
Faded sublimation prints often stem from insufficient heat or pressure application. Much like troubleshooting a complex Snap! program‚ pinpointing the root cause requires systematic investigation. Inadequate temperature prevents the sublimation ink from fully transitioning into a gaseous state and bonding with the polyester fibers.
Similarly‚ low pressure hinders the ink’s penetration. Ensure your heat press reaches the recommended temperature for your substrate – referencing optimal ranges is crucial. Verify consistent pressure across the entire design; uneven pressure leads to patchy‚ faded areas.
Ink quality and paper type also play a role. Expired or low-quality ink yields weaker results. Using the correct sublimation paper designed for optimal ink transfer is essential. Finally‚ consider dwell time; a shorter duration may not allow complete sublimation. Like editing ENV files in Allegro‚ precision matters!
Ghosting and Bleeding: Prevention Techniques
Ghosting‚ a faint shadow around your design‚ and bleeding‚ where colors run together‚ are common sublimation challenges. Preventing these issues requires meticulous attention to detail‚ akin to debugging a Snap! project. Ghosting often arises from movement during the heat press cycle; ensure your substrate is securely fixed.
Bleeding typically occurs due to excessive heat or pressure‚ causing the ink to spread beyond the intended boundaries. Lowering the temperature slightly or reducing pressure can mitigate this.
Utilizing high-quality sublimation paper is paramount‚ as cheaper papers can release excess moisture contributing to both problems. Proper pre-pressing to remove moisture from the substrate also helps. Like the precision needed for Allegro’s ENV file settings‚ control is key. Finally‚ avoid overlapping colors excessively in your design‚ as this increases the risk of bleeding.
Color Accuracy: Calibration and Adjustment
Achieving vibrant and accurate colors in sublimation demands consistent calibration and adjustment‚ much like refining a Marvel Snap deck for optimal performance. Color discrepancies often stem from monitor settings differing from the printer’s output. Regularly calibrate your monitor using a colorimeter to ensure a true representation of your design.
Furthermore‚ create and utilize color profiles specifically for your sublimation printer‚ ink‚ and paper combination. These profiles translate colors accurately during the printing process.
Test prints are crucial; compare the printed result to your monitor’s display and make adjustments in your design software. Consider environmental factors‚ as lighting can influence color perception. Like troubleshooting a Snap! program‚ iterative testing and refinement are essential for consistent‚ accurate results.

Advanced Sublimation Techniques
Exploring full versus partial sublimation‚ and utilizing pre-treatment for dark fabrics‚ expands creative possibilities. Multi-color layering‚ akin to building a Marvel Snap deck‚ unlocks complex designs.
Full Sublimation vs. Partial Sublimation
Full sublimation involves complete coverage of a polyester substrate with sublimation ink‚ resulting in an all-over‚ vibrant print. This technique is ideal for apparel like athletic jerseys and all-over-print designs on items like phone cases. The entire surface becomes the canvas‚ offering limitless design potential.
Partial sublimation‚ conversely‚ focuses on specific areas of the material; This is often used when incorporating designs onto polyester fabrics with existing colors or patterns‚ or when working with blended materials where full coverage isn’t desired. Think of it like building a Marvel Snap deck – strategically placing cards (colors) for maximum impact.
The choice depends on the desired aesthetic and material composition. Full sublimation demands 100% polyester or a high polyester blend for optimal results‚ while partial sublimation offers flexibility with mixed fabrics. Understanding these differences is crucial for achieving professional-quality sublimation prints.
Using Sublimation on Dark Fabrics (with pre-treatment)
Traditionally‚ sublimation excels on light-colored polyester fabrics. However‚ achieving vibrant results on dark materials requires a pre-treatment process. This involves applying a specialized polymer coating that acts as a base for the sublimation ink‚ similar to how Snap!6 scales online collaboration.
The pre-treatment creates a white-ish layer‚ allowing the sublimation dyes to appear vivid against the dark background. It’s crucial to follow the manufacturer’s instructions for application – typically a spray-on or roll-on method‚ followed by a heat press cure before sublimation.
Expect a slightly different hand-feel on pre-treated areas. Color vibrancy depends heavily on the quality of the pre-treatment and the ink used. Like editing ENV files in Allegro‚ precise application is key for consistent‚ professional results. Thorough testing is recommended.
Multi-Color Sublimation and Layering
Achieving complex designs with sublimation often involves layering multiple colors. This isn’t simply printing multiple layers at once; it requires careful planning and execution‚ much like the strategic gameplay in Marvel Snap. Each color pass needs to be considered for its impact on the final image.
Typically‚ lighter colors are printed first‚ followed by progressively darker shades. This prevents darker inks from overpowering lighter ones. Transparency plays a vital role – understanding how colors blend is crucial. Consider using sublimation software that allows for precise color separation and registration.
Like the collaborative development of Snap!6‚ successful multi-color sublimation demands attention to detail. Proper heat press settings are essential to ensure each layer bonds correctly without bleeding or ghosting. Experimentation and testing are key to mastering this technique.